
In our previous blog post, we examined how useful publicly available Custom GPTs are for academic tasks. While many showed promise, especially for brainstorming or outlining, they often fell short in areas where accuracy, source verification, and methodological transparency are crucial. In short: if your work demands high standards of scholarly rigour, using generic GPTs can be risky. That’s why this follow-up post takes a more hands-on approach: we show you how to build a Custom GPT designed to meet your own academic standards and workflow.
Step 1 – Start in the 'Create' Tab, but Don’t Stop There
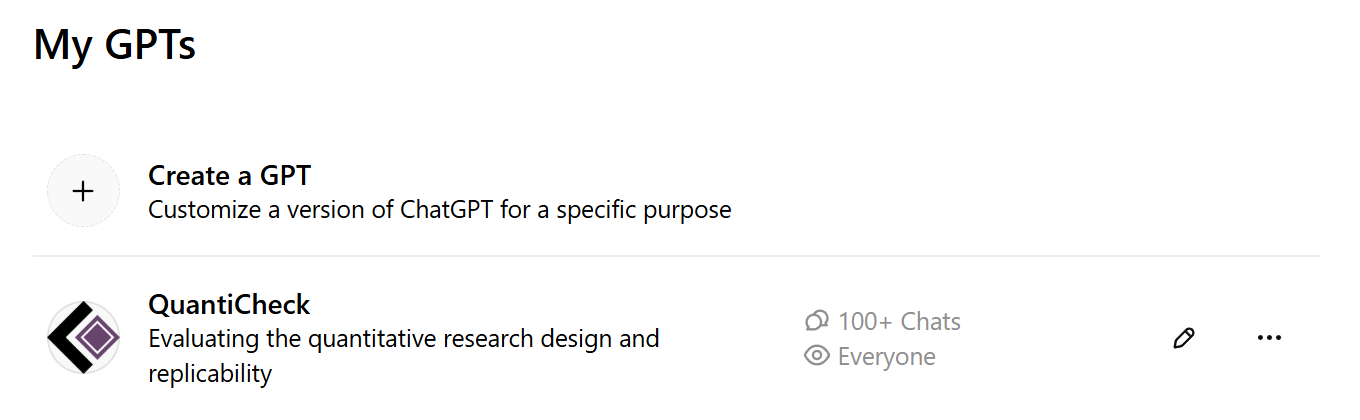
To begin creating your Custom GPT, open the “Explore GPTs” menu in the left sidebar of ChatGPT and click “Create a GPT”. Once you’ve created a GPT, it will appear under the “My GPTs” section. Here, you’ll find all the assistants you’ve built—whether public or private—and you can reopen, edit, rename, or delete any of them. This makes the process flexible: even if your first version isn’t perfect, you can refine it later without starting from scratch.
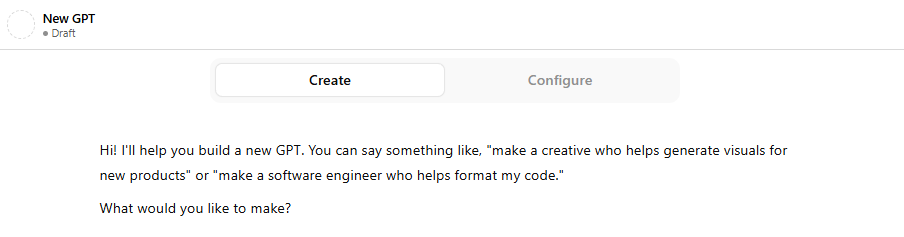
Once you click “Create a GPT”, you’ll enter a simple, chat-based interface where ChatGPT asks what kind of assistant you’d like to build. You can respond in natural language—for example: “Make a reviewer who evaluates the methodological transparency of academic papers.” or “I need a research assistant that helps summarise journal articles and checks whether the methods section is complete.”
ChatGPT will then generate an initial version of your custom assistant. It suggests:
- a name,
- a profile picture,
- a short description, and
- some default behaviour instructions.
This process is helpful for quickly getting started—especially if you’re not yet sure how to structure a full set of instructions. However, the result is often quite general or imprecise. We recommend using this chat-based creation mode only as a first draft.
Step 2 – Refine It in the ‘Configure’ Tab
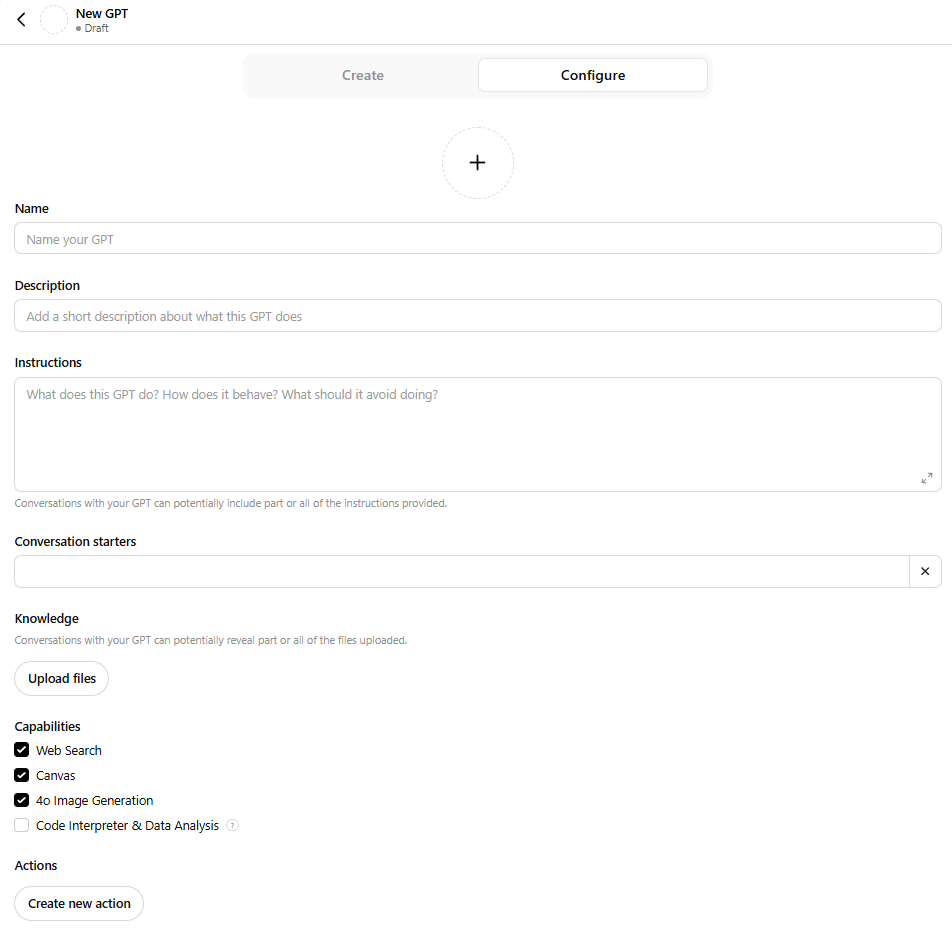
Once the draft is generated, you can move to the “Configure” tab to manually refine your GPT, adjust its behaviour, and upload any reference materials, such as scoring rubrics, checklists, example evaluations, or internal documentation, that the GPT can use when performing its task. This is where you gain full control over your assistant’s logic and tone. Unlike the chat-based creation step, which relies on general suggestions, the Configure interface lets you specify in detail.
Below is a detailed overview of each configurable element:
- Name: The name identifies your assistant in the “My GPTs” section and—if published—the GPT Store. We recommend choosing a clear and descriptive title that reflects its function.
- Description: This short summary informs users about the GPT’s intended purpose and functionality. For example:
“Evaluates methodological rigour in academic research papers based on predefined review criteria.”
- Instructions: This field defines the "system prompt", which governs how the GPT interprets inputs and formulates responses. It is the most influential element in determining the assistant’s tone, task orientation, and scope of output. The Instructions field has a character limit of approximately 6,000-6,500 characters. If additional guidance is required, such as extended evaluation templates, these should be uploaded as supporting documents.
- Conversation Starters: This optional feature enables you to suggest initial prompts for users, guiding them in how to interact with the assistant.
- Knowledge – Upload Files: This section allows you to upload up to 20 documents—such as rubrics, checklists, or examples—to provide background knowledge for your GPT. However, this is not a full Retrieval-Augmented Generation (RAG) system: the model does not automatically search or extract content from these files during conversation. To be used effectively, files must be explicitly referenced in the system instructions or by the user. For example: “Refer to the uploaded ‘evaluation_criteria.pdf’ when assessing rigour.” Although limited in scope, this feature still supports meaningful customisation—particularly when the uploaded materials are clearly integrated into the GPT’s expected behaviour.
- Capabilities: This section allows you to enable tools relevant to your assistant’s purpose, such as web browsing, code execution, image generation, or Canvas. These features extend the GPT’s functionality—for example, by allowing it to fetch real-time data, analyse files, or support visual structuring of content. Activating only what is needed helps keep the assistant focused and reliable.
- Actions: This feature allows your GPT to interact with external systems via APIs defined through OpenAPI schemas. This enables the assistant to retrieve or send data outside ChatGPT—for example, querying databases or accessing institutional tools. To use it, you must define an OpenAPI schema and, if needed, authentication. The built-in ActionsGPT can help generate these schemas from documentation or code snippets.
Step 3 – Choose How to Share or Publish
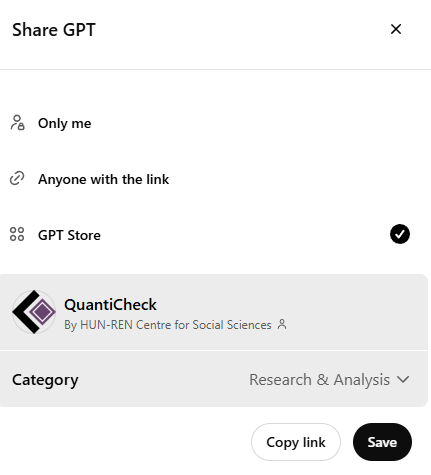
Once your Custom GPT is ready, you can choose how it will be shared. Under the “Share GPT” menu, three visibility options are available:
- Only me – The assistant remains private and only accessible to you.
- Anyone with the link – The GPT can be shared via a private link, ideal for limited testing or internal use.
- GPT Store – The assistant becomes publicly available and searchable by others. You’ll be asked to assign a category (e.g. Research & Analysis) and confirm a display name or institutional affiliation.
Publishing to the GPT Store makes your assistant discoverable by a broader audience, while private options are better suited for draft versions, team workflows, or experimental tools not yet ready for public use.
Recommendations
Our experience suggests that while publicly available Custom GPTs can serve as a starting point, they rarely meet the standards required for rigorous academic work. One key limitation is that you cannot view the underlying instructions or configuration of GPTs built by others—making it difficult to assess how they operate or why they produce certain outputs.
If you plan to rely on such tools in scholarly contexts, building your own assistant is often the better option. By writing your own instructions, uploading supporting materials, and configuring capabilities, you retain control over how the GPT behaves—and ensure that it aligns with your standards for relevance, transparency, and reliability. With careful setup and critical use, a Custom GPT can become a useful support tool in academic workflows.
The authors used GPT-4o [OpenAI (2025) GPT-4o (accessed on 13 May 2025), Large language model (LLM), available at: https://openai.com] to generate the output.